
The finished roof
Green metal meets a cabin-style design
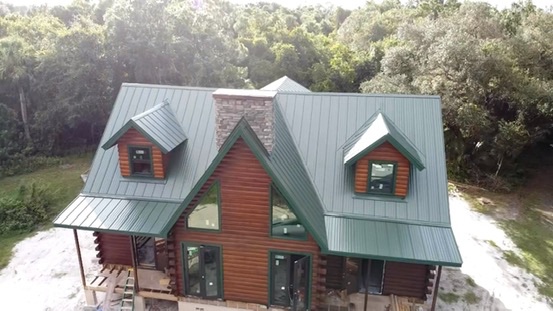
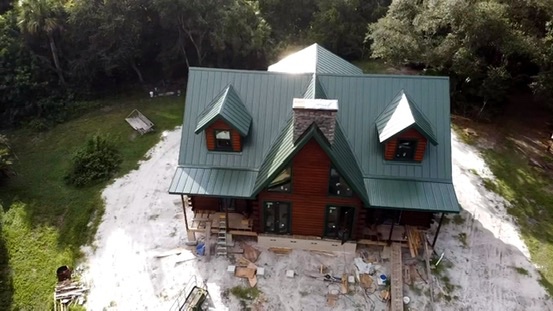
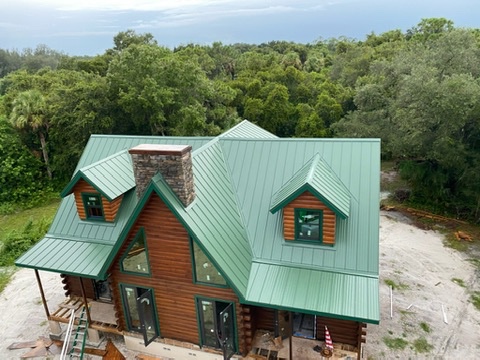
The wood exterior, prominent front gable, and two dormers give this home its cabin character. The green metal follows those rooflines and sits naturally against the trees surrounding the property.
- Location
- Village of Indiantown, Florida
- Project
- New construction roofing
- Panel profile
- 1-inch nail strip
- Metal supplier
- Dynamic Metals
- Roof color
- Evergreen
- Main challenge
- Steep roof slopes

Dynamic Metals
Supplier of the metal panels in Evergreen.
Meet the suppliers and fabricators behind our metal roofs →
Polyglass · Polystick
Underlayment brand visible in the dry-in photos.
See the dry-in layer beneath the panels →This project started with a new structure, so our work began after the contractor’s sheathing was in place. There were no old shingles, tiles, or metal panels to remove.
Get My Free Metal Roof EstimateNew construction · no tear-off
From wood sheathing to the dry-in stage
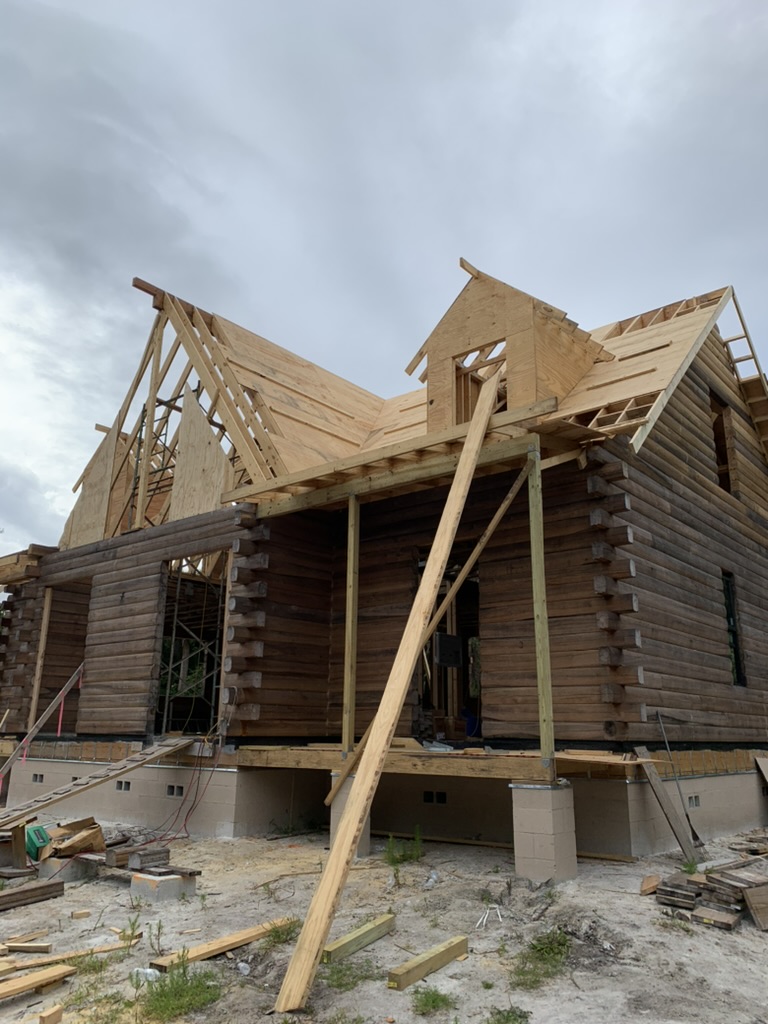
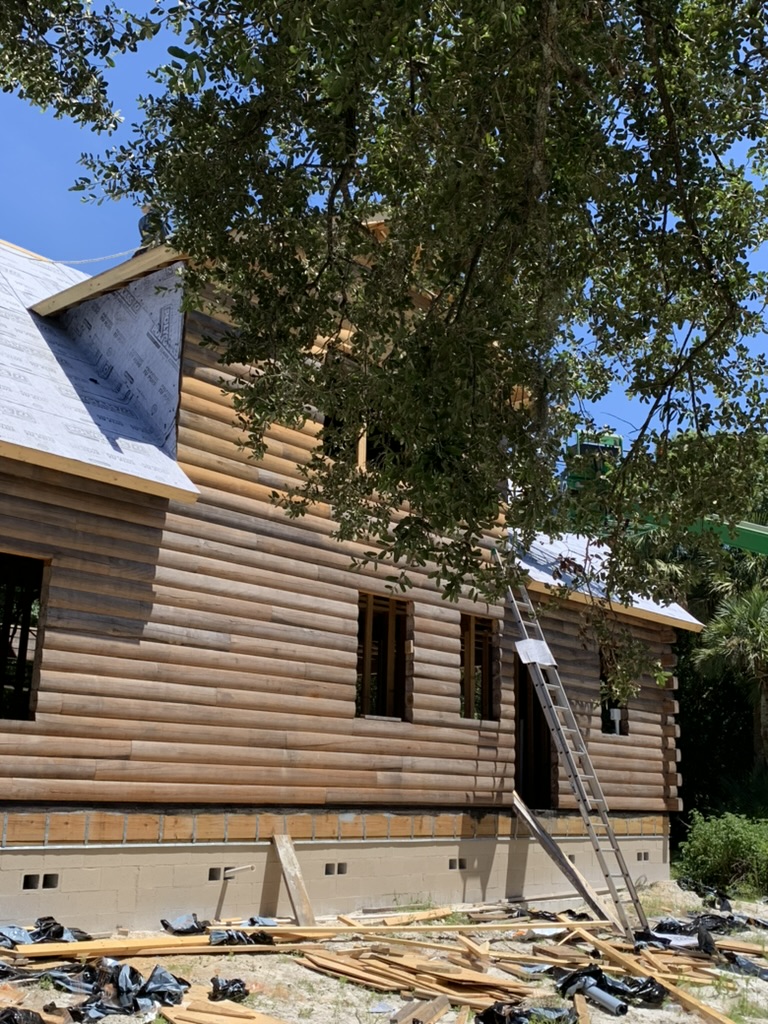
The contractor laid down the wood sheathing that forms the roof deck. Our part came next: installing the underlayment over that wood during the dry-in process.
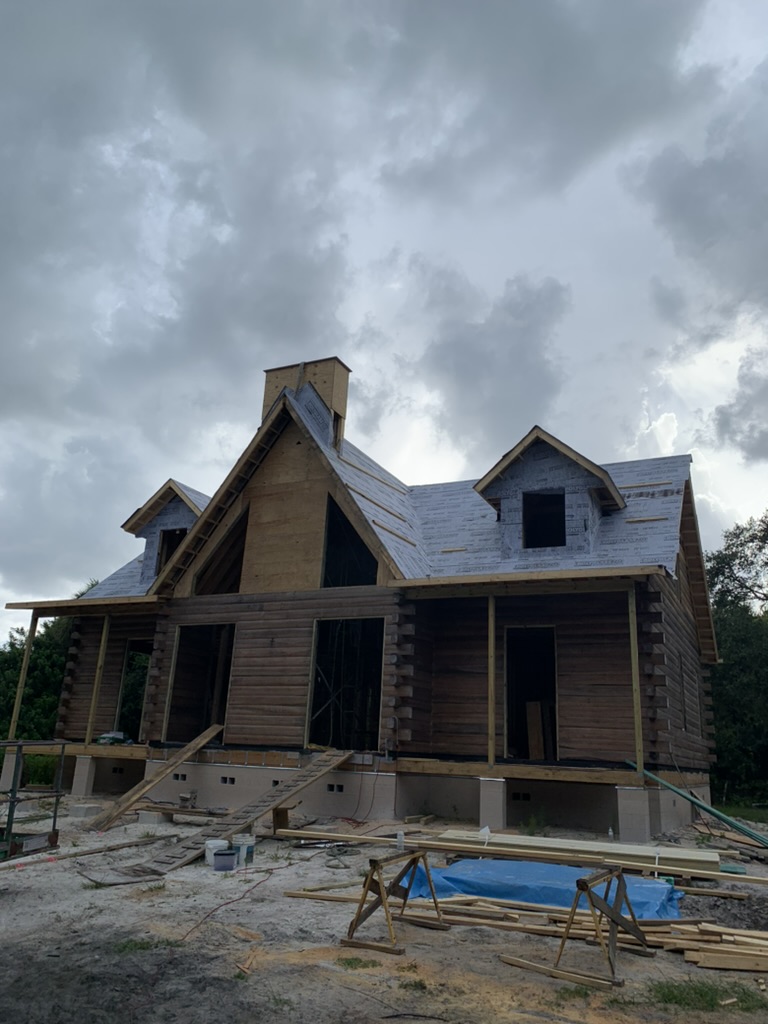
For a homeowner, the easiest way to understand this stage is to look at what is visible in the construction photos. First you see the wood roof surface. After dry-in, that surface is covered by underlayment. The metal roof is installed above it, so the underlayment is hidden in the finished job.
A layer you won’t see later
Underlayment beneath the green panels
Once the decking was ready, we installed the dry-in underlayment before returning for the metal roof installation. The close-up gives a useful look at that intermediate stage, with underlayment covering the steep roof surfaces and green metal pieces visible along the intersecting sections.
It is easy to focus on the finished color when planning a metal roof. This photo shows why the estimate conversation should also cover the work underneath: who is responsible for the decking, what underlayment is included, and how the roofing work fits into the construction sequence.
The close-up shows Polystick TU PLUS markings. Read our Polyglass Polystick TU PLUS review for its tile and metal applications, approval conditions, and the installation details to ask about in your estimate.
To learn about another Polystick product we use, read our Polyglass Polystick TU MAX underlayment guide. It explains the product and shows other M&M installations.
Discuss My New Construction Roof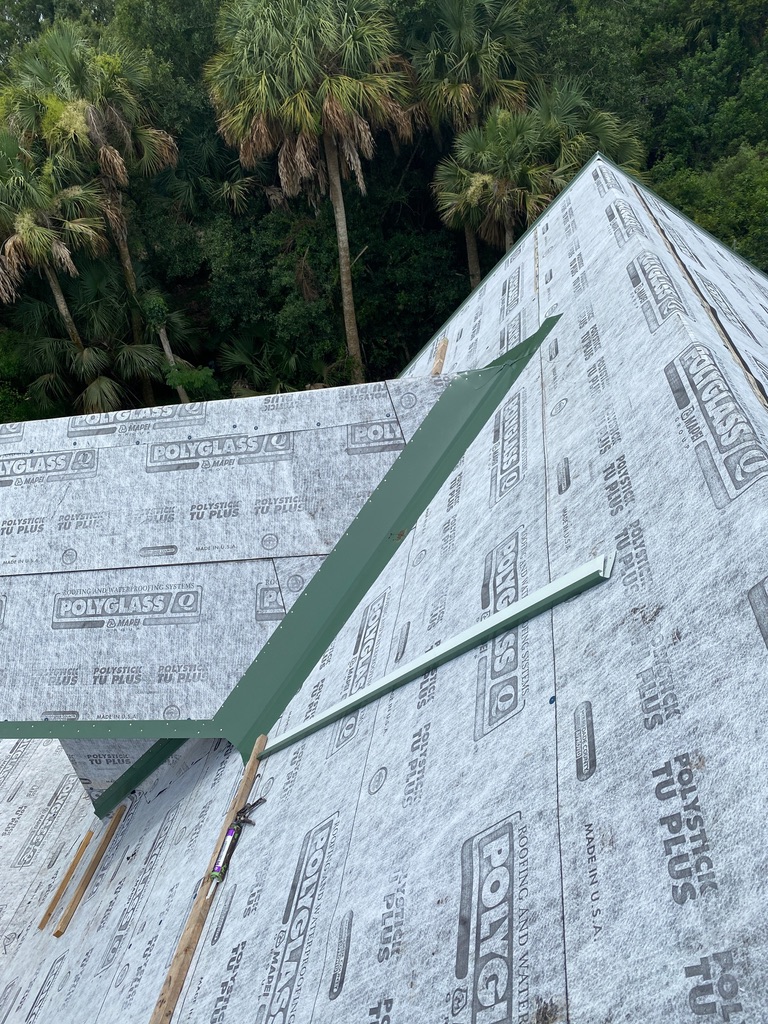
The challenge
A steep roof made this installation demanding
The pitch was one of the toughest parts of this job. Working across these steep slopes made the installation more difficult, and the photos make that clear—especially around the tall front gable and the dormers.
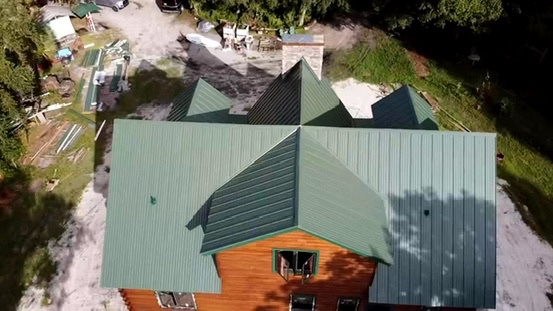
The roof also changes direction around several parts of the home. From the ground, those details create the cabin-style silhouette. From above, you can see how the main roof, smaller dormer roofs, and adjoining sections come together.
Despite the challenge, the finished roof came together beautifully. The green panels follow the shape of the house and give the wood exterior a finished look without taking away from its rustic character.
The finished look
Evergreen one-inch nail strip panels from Dynamic Metals
After the dry-in work, we returned to install Evergreen one-inch nail strip metal panels supplied by Dynamic Metals. The color complements the warm wood exterior and the wooded setting, while the panel lines emphasize the steep roof shape.
Our guide to our metal suppliers and local fabricatorsexplains how companies such as Dynamic Metals fit into our roofing work. To compare the nail strip profile used here with a mechanically seamed system, our mechanical seam vs. nailstrip comparisonexplains the differences to discuss in your estimate.
If you are considering a similar look, our metal roofing pageexplains the roof options we discuss with homeowners. You can also browse our metal roof color collectionfor inspiration; that collection features Metal Alliance finishes, so it is not a color identification for the Dynamic Metals roof shown here.
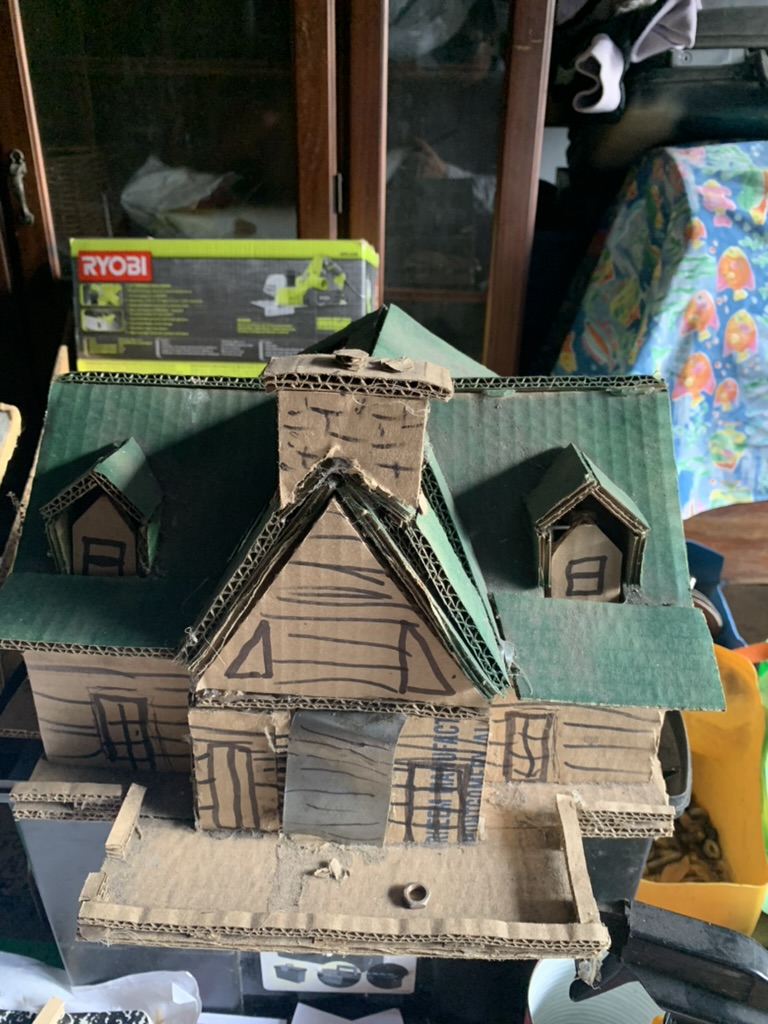
More project photos: the cabin shape and dry-in work
Project FAQs
Questions about this Indiantown roofing job
What metal panel profile was installed?
We installed Evergreen one-inch nail strip metal panels supplied by Dynamic Metals.
Was this a roof replacement?
No. This was a new construction job in the Village of Indiantown. There was no existing roof to tear off.
Who installed the wood sheathing?
The contractor installed the wood sheathing. M&M Roofing then installed the dry-in underlayment over that decking and later installed the metal roof.
What does “dry-in” mean in this project?
Dry-in refers to the stage when we installed the underlayment over the wood decking before the metal panels went on. That layer sits beneath the finished roof covering.
What is the exact roof color, and who supplied the metal?
The color is Evergreen from Dynamic Metals. We installed it in a one-inch nail strip panel profile.
What made this roof challenging?
The steep pitch made the installation more difficult. The dormers, front gable, and adjoining roof sections also give this home a more involved roof shape than a simple uninterrupted slope.
Planning a metal roof for your new home?
Let’s talk about the design, the construction schedule, and the roofing work your project needs.